Picking the greenhouse up at the shipping dock: The 20 foot long Sungrow is designed for compact shipping. All fits comfortably in the back of a Tacoma pickup truck. As with most expensive things sent to Alaska, the company you buy it from wants you to inspect it before you sign for it, at the same time the shipper won’t release it until you sign for it. That means unless you’re going to inspect every piece, while it’s sitting on the loading dock, you just take a leap of faith, sign for it, and bring it home. In our case, all the parts were intact and in place.
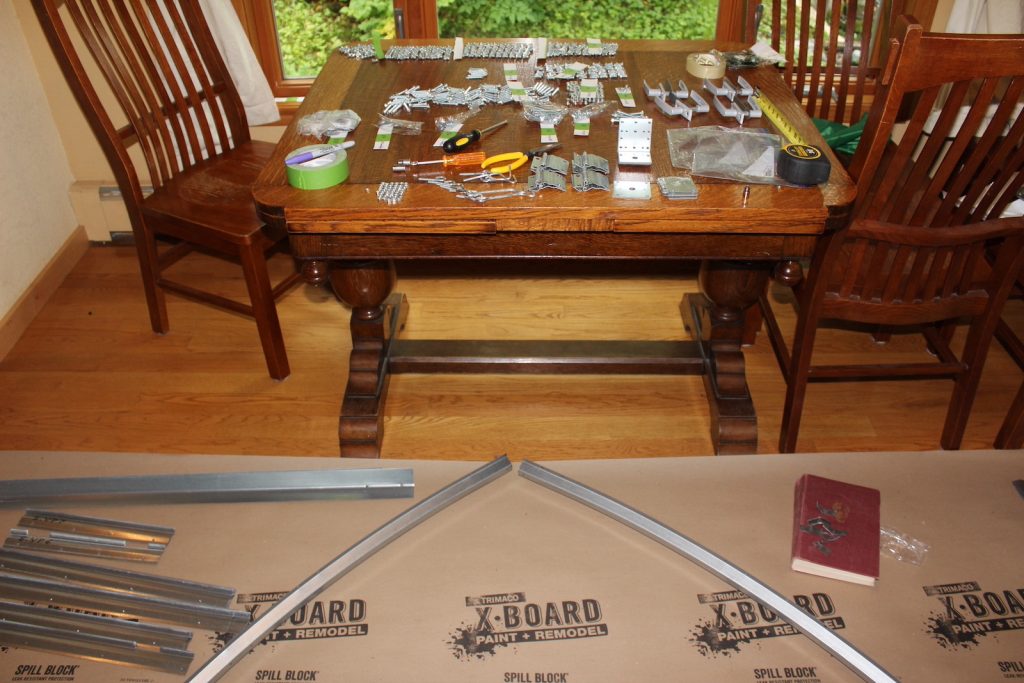
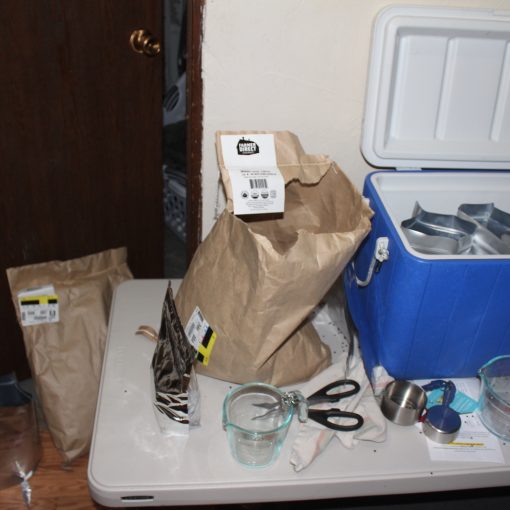
First thing: There are lots of parts, including several hundred nuts and bolts. While making sure everything was there, I put the nuts and bolts into heavy duty ziploc sandwich bags by size and labeled the bags. Next, using the manual, I organized pieces like with like and labeled those with masking tape.
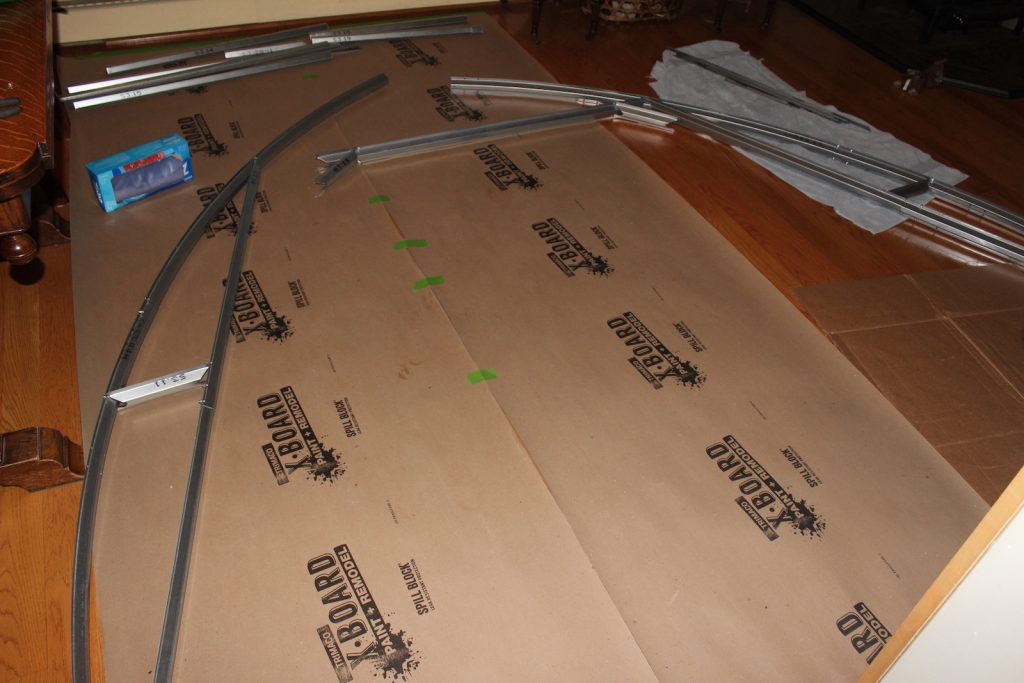
Next: Weather wasn’t the best when our greenhouse arrived so I assembled some of the components indoors to get a feel for how they come together. The X-Board is to keep sharp metal parts from scratching the floor. As things ended up, other project took priority and with winter coming on by the time I got back to the greenhouse, I stacked components for the winter wherever there was room. In my office, the mud-room, the shed, under the bed…
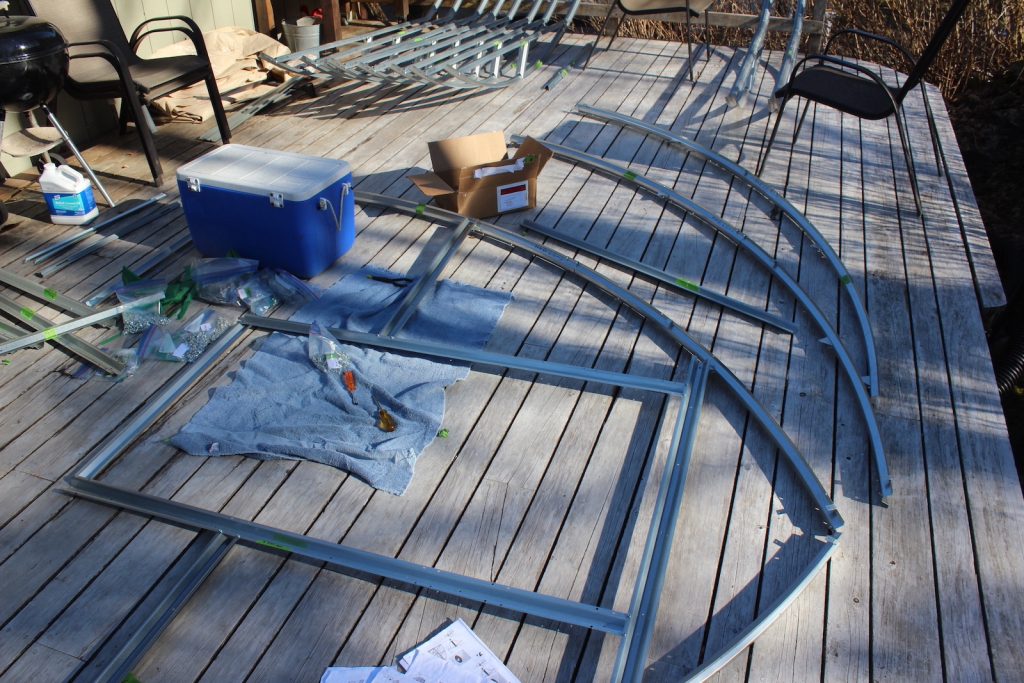
In spring: Once the gravel pad and wood foundation were in place, all the greenhouse parts moved out to the deck. Except (!) the polycarbonate sheets. Those stayed in the shed where it’s dry and cool until the frame was up. They want to stay out of the weather until you’re putting them on because there’s a thin sheet of protective film on both sides of the polycarbonate panels that can be hard to peel off if they sit in a hot place. (they rode out the winter in the unheated shed just fine). Note the polycarbonate sheets want to be stored in their boxes with the box standing on it’s long edge. That is, don’t lay them flat.
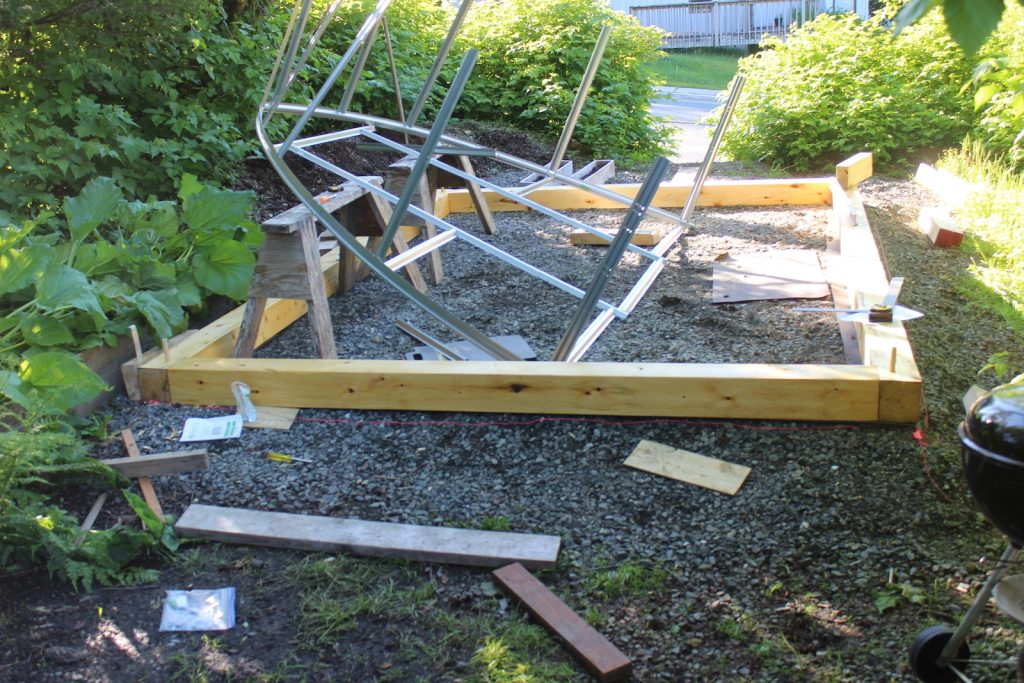
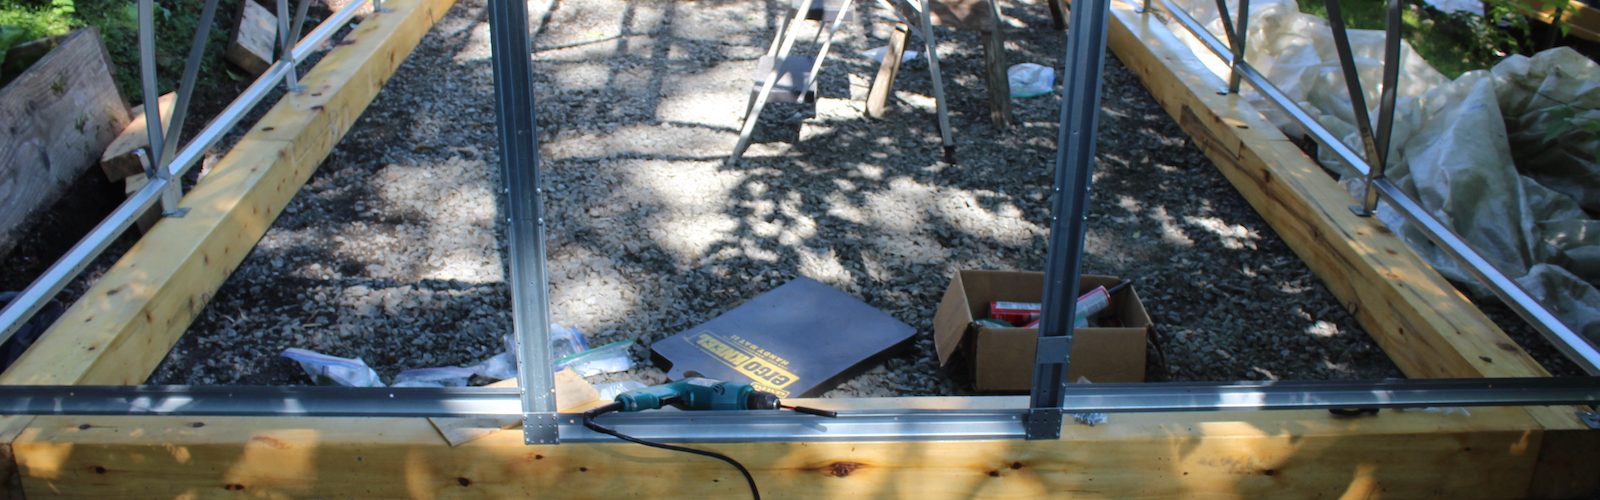
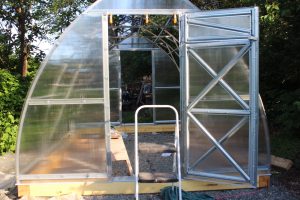
Both ends of the greenhouse are identical: once you figure out the first one the second’s a snap. Two small bolts hold each end of the straight spacers between the arches. Spacers feel like they’re going to tear off at the point you see here, but once the next arch is attached it becomes more stable. And it keeps getting sturdier as you go. (pegs sticking up in corners of the wood frame hold the mortise and tenon together. The part sticking up will be cut off.)
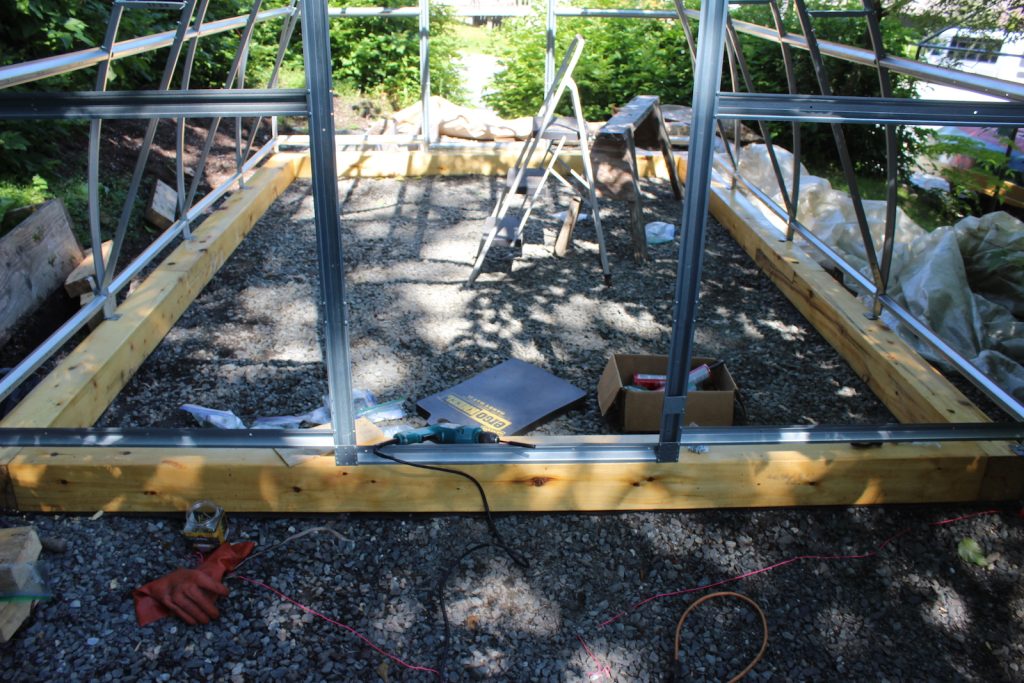
Frame firming up nicely: Clear tarp along the right side was thrown over the frame during a couple days of rain.
Polycarbonate panels: In one DIY assembly video from England, the guy making it said once you get started putting your panels up, you want to get them all in place before wind hits. No stopping.
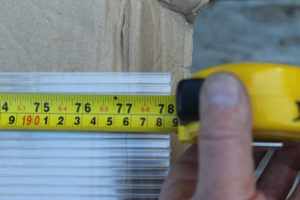
Note on panel size: roof and side panels are 1.05 meters wide x 1.974 meters long. As seen in photo above left, some of mine were 1.984 meters. That is, a centimeter longer than others. I cut off the extra centimeter with a utility knife. Photo right shows light clamps holding either end of a metal piece (called a profile) that I’m using for a guide to run the utility knife along. In the Planta videos, the techs do a lot of these cuts freehand but they do it for a living. I found I got a cleaner cut with the guide. Even if you don’t use it for a guide, you can use the profile to mark the line you’ll cut along.
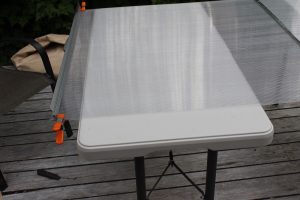
The roof panels are scored in half widthwise across the grain. Cut through the top layer with the utility knife. It feels like the thing will split into two pieces when you first cut it but it won’t as long as you’re careful. Seal the top and bottom. Again, make sure you face the UV side outboard.
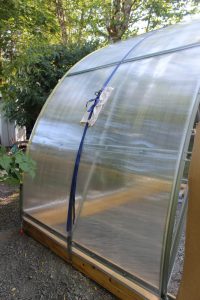
If you’re working alone: you can throw a cargo strap over a panel to hold it in place while you’re securing another. The towel is to keep the cargo hitch from scratching the panel. Don’t over tighten. Light clamps hold polycarbonate ridge panel in place while you drill holes screw holes. Doors and windows: were already together so it was just a matter of affixing the 2 hinges on each to the door frame. Helps to have an extra person to line up doors and windows. If you don’t have an extra person you can line up the holes and stick a chop stick or small screw driver through one hone while you set a screw in the other.
Once the polycarbonate skin is on, join the ridge sections all together on the ground. lay it on top of roof peak. Helps to have two people, at least 3 people for longer greenhouses. Align metal straps over the structure (carefully so you don’t scratch the polycarbonate). Attach straps to bands that you’ve secured to base. Cinch straps down. Put the handles on doors and windows.
Et Voila!

