
Part 5. Freeze Drying: Odds and ends that make life easier.
Pre Freezing: As mentioned, if you pre-freeze your trays, you’ll take hours off your freeze dryer run-time.
Trays: Don’t use abrasive scrubbers on them. Consider buying an extra set of trays. They don’t cost much. If you mess one up, step on it, lose it, whatever, you don’t have to do short batches until a replacement arrives. You can also get the next batch freezing in the chest freezer while you’ve got one going in the freeze dryer. Trays clean up nicely in the dishwasher. It helps to soak them a few minutes first. They collect some water under the rims so tip them up on edge to drain after washing.
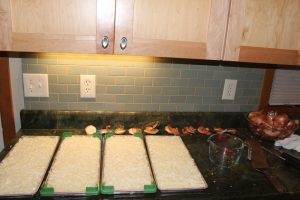
Brackets to stack trays in freezer: These are great for pre-freezing eggs and liquids. Trying to balance loose trays full of runny foods on frozen food in the chest freezer will result in swearing. Honest. You could make brackets yourself but if you’re like me you probably won’t. So, get brackets. In fact, get two sets. They cost almost nothing and you’ll end up using them.
Put brackets on an empty tray. Put it in the basket. Pour in what you want to freeze. Set the next tray on top. Repeat. *One thing about this method. I usually put food in the chest freezer overnight. In the morning, the top and bottom trays will be frozen hard but the two in the middle are only partly frozen. At that point you can spread them around on other stuff in the freezer for a couple more hours until they’re solid. Then pop them in the freeze dryer. [Live Life Simple website has these that are made in USA]
Silicon mats: HR sells these. Supposedly they make for an easier clean up. I’ve never seen a need for them and don’t use them.
Platform for your machine should be level: If it isn’t, and the machine tips slightly down in front, water from the melting ice goes that way. It should go out the drain in back. You can shim the front a bit to raise it if needed.
Cleaning the chamber and changing the oil: I slide the tray rack out every batch (no need to unplug the wire connecting it to the chamber) and give it a rub down with water and a bit of vinegar. Takes two minutes. With the premier pump, every twenty batches you should change oil. That takes maybe 5 minutes. Drain oil into the filter that comes with the unit. You can refill with new oil (which is what I do) or use the filtered oil.
https://www.youtube.com/watch?v=U2aeRTMhvac
Onions: If you’ve just got to freeze dry onions, consider doing the batch just before cleaning the oil. Depending on how potent the onions are, you may stink up the house/freezer/freeze dryer. If you stink up the freeze dryer and your next batch may absorb some of the onion smell. You don’t want freeze dried onion ice cream.
Texture: should be brittle/dry. Sometimes you see someone new to freeze drying who’s taken it upon themselves to make a video, and they’re bending what they’ve freeze dried. Don’t listen to those people.

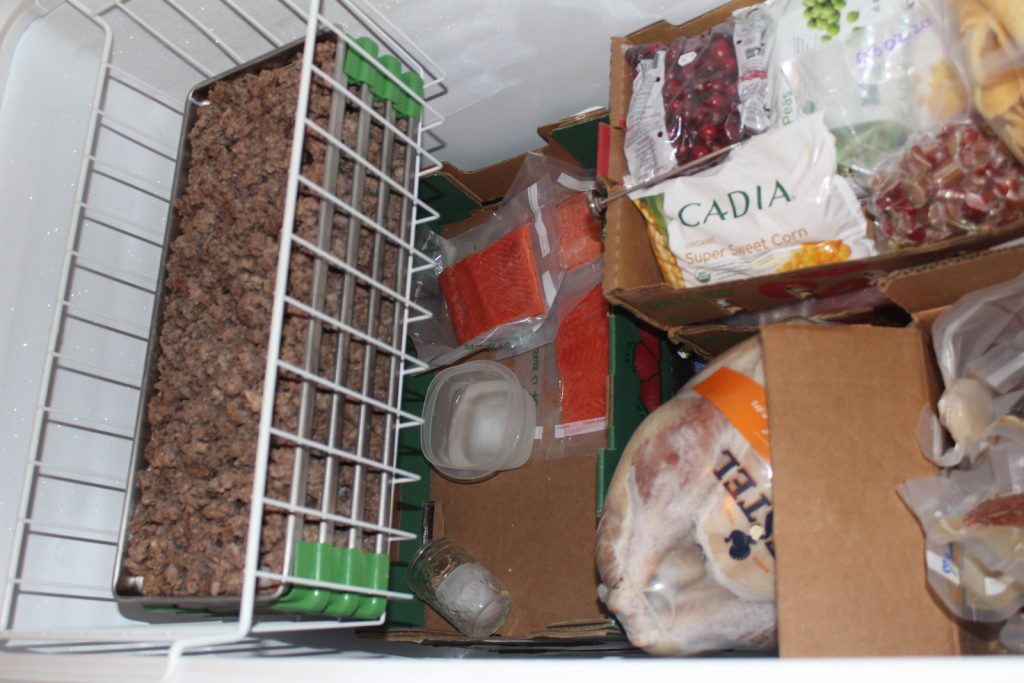
Storage: You have to store all that food. 12 gallon ‘Greenmade’ storage totes (made in USA) work well. They stack. You can keep like with like. They’re not so big you can’t find stuff. Not so small you have to cram bags into them. They also keep mice out, unlike cardboard boxes, if that’s an issue.
Organize the pantry, rotate food: Just because food can last 20 years doesn’t mean that’s best. Once you’ve got the food supply of your dreams you want to keep a tally of it, start eating what you’ve put up, see what you like or don’t, and replace what you use.
Domestic Harmony: If you are using a medium freeze dryer without a designated 20 amp circuit, let people in the house know what day you’ll be asking them not to use the washing machine.
Be patient with yourself: As with any good thing, it takes a while to find your groove. Each batch goes a little easier as you develop your routine.

