Part 3. Freeze Dryer: Taking the leap: Ordering: Shipping: Set-up
“But… it’s expensive…”
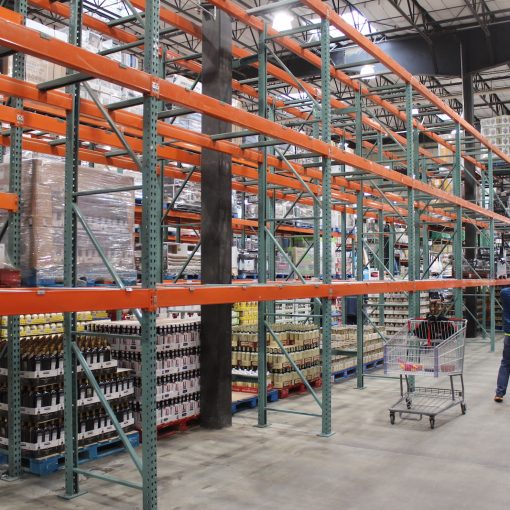
Yes and no. Whatever you spend on putting up food today is nothing compared to how much the food will be worth when there’s none available in the stores.
*If you don’t have $2,900 up front, Harvest Right has an excellent layaway plan. You pay a minimum of $250 to lock in the current price. After that you make payments at zero interest. That’s right, zero percent interest. When it’s paid off they send you the machine. Presumably they’re not going to hold it for ten years, so check with them to confirm how long the window is between when you first order and when it has to be paid off.
The point is, you don’t want to go deep in debt by putting such a big ticket item on a credit card. Credit cards are running at over 20 percent compounded interest. That stacks up fast, especially if you miss a payment. You could end up paying more in interest than the machine costs.
Bank loans might be a better rate than credit cards but they’re not going to be zero like Harvest Right offers.
If you do have $2,900 but think that’s too much money, what can I say? Friends of mine with far more money than I’ve got have told me they’re coming to my house if the food supply tanks. I refer them to Aesop’s Fable about the ant and the grasshopper.
You’re about to buy a freeze dryer:
Home freeze dryers have improved to a point where they’re like electric bicycles, only without the lithium ion battery chargers that catch fire. For preppers, the question is when, not if, to get one. Having watched them for years before I bought mine, and having run a few dozen batches through it, I’ll share my own trajectory which I think is common.
First Step: Watch a couple hundred computer videos by people who don’t know any more about it than you do.
There are some excellent ‘how-to-freeze-dry’ videos out there. Most aren’t. Part of the issue is people are excited about this new machine they bought. Part is that, like a lot of companies, Harvest Right’s marketing strategy is word of mouth. That extends to the company offering people who’ve bought a unit, and who get someone else to buy one, $100 worth of Harvest Right products. Hence, a lot of marginal videos. Let me save you some time.
If someone in a video says ‘homestead’ more than twice, and you can hear cars on the road in the background, it’s shaky. You watch these people for half an hour unboxing their first ever freeze dryer as they tell you not to forget to hit the ‘Like’ button. In ensuing videos, you watch them and others cutting up food, or breaking eggs into a bowl. Sometimes they talk about their pets. Sometimes they peddle unrelated stuff. You know you’re wasting your time but you watch anyway in case they say something useful.
Towards the end, they put the food in the freeze dryer. Come back when it’s done. They sample it and say, “Mmmmm. If you didn’t tell me this was freeze dried I’d swear it was fresh.”
Second Step: Getting closer: Narrow your video watching focus to how the machine components work.
This happens just before and, even more so, just after you’ve bought your machine. You’ve watched enough of the videos from Step One to winnow out the presenters who don’t know what they’re talking about but through diligent searching, you find as many other presenters. Some excellent, some talking about problems with components that were upgraded years ago.
That’s because despite having almost no competition in the field, Harvest Right is known for continually improving their machines. This is good in that they’re improving. At the same time, it’s confusing for someone trying to figure out how these things work by watching videos on the internet. People tend to leave out-of-date videos online.
Some examples:
a) Years ago with the older vacuum pumps, owners had to clean the oil every couple batches. Some leaked oil back into the chamber. The pumps were very loud. There are videos about those things, and potential fixes, but new buyers don’t need to waste time on them because the new premier pumps only need an oil change every 20 to 25 runs—that takes a couple minutes and only involves draining the oil into a filter (that works like a Brita water filter—its included with the machine), after which you pour the oil back into the pump and you’re off to the races. The siphoning oil problem, was very rare and the video I saw on it was due to a defective pump. That’s been corrected with the new premium pumps. Pump noise in the new premier pumps is about the same as a bathroom fan. Not something you want in the kitchen maybe, but not noticeable in the house if the machine’s in the basement, mudroom, shop, etc.
b) Years ago the machines weren’t as sophisticated and the owner had to select more features and pay attention to times. Now the machine does most of what it needs to and the owner just checks to make sure everything’s completely dry when it’s finished. (If it’s not dry, you can add time).
c) Pillow inside the door opening: HR freeze dryers used to come with them. Now they don’t. When you see people using pillows on lots of videos don’t worry. It’s an older video.
d) There’s a clear hose between the vacuum pump and the freeze dryer. It used to be a larger diameter which could cause siphoning. People made videos on how to work around that. Harvest Right went to a smaller diameter black hose. There are still videos out there of that. Then HR went to a clear hose of the smaller diameter as the black one. If you get a new machine, and the hose is clear, relax. It’s okay. Look closely and you’ll see the diameter marked on the side of the hose.
e) Even some of the HR videos show older model pumps with, for example, a different oil fill indicator window. You look at them and think, “Oh, oh. That’s not what I have.” Not to worry. If you bought it new from HR, yours is okay.
f) As with canning and other kinds of food preservation, there are lots of videos out there with people doing goofy stuff the company advises you not to do. Like tightening the hose fittings with pliers. If HR says don’t do that. Don’t listen to some new owner on the internet.
g) Oh, and there are lots of videos by techies who do stuff like evaluate by experiments how much oxygen different types of O2 absorbers will take in over a given number of hours. They’re pretty cool but can be over the top while you’re still looking for the on/off switch of the machine. (it’s on the back)
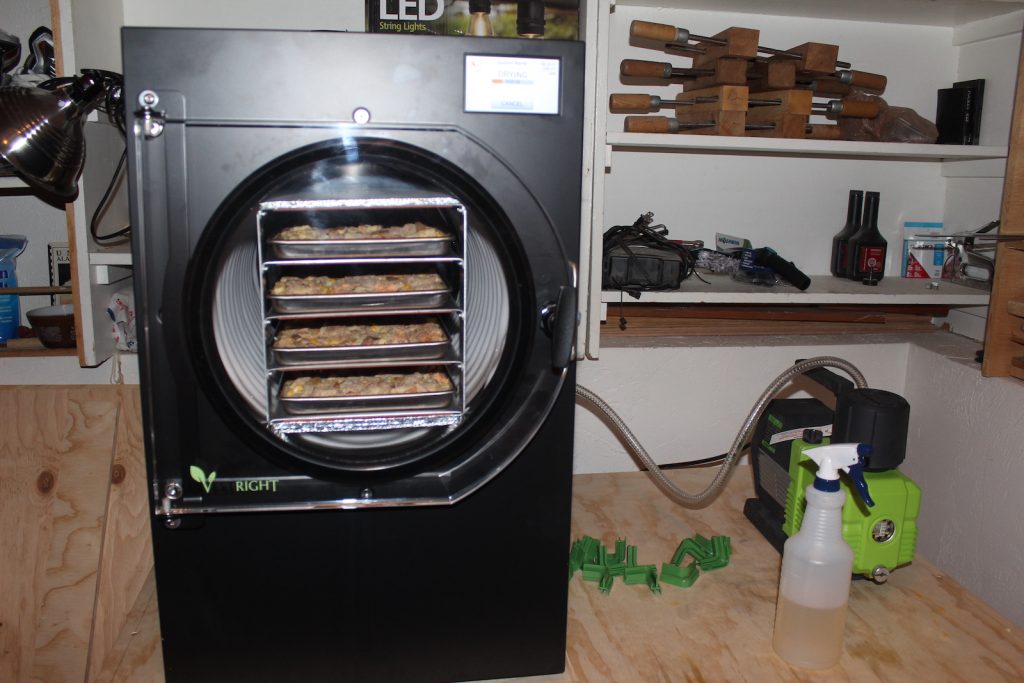
Third Step: You bought it: Delivery Day: Well done.
HR will tell you, in big letters, to examine the machine before you sign for it. So, you want to be home when it’s delivered. They do a good job packaging. All is probably fine. It’s good form to give the delivery crew a $20 as they wait while you open the box. They may also help you bring it inside.
A medium HR freeze dryer with pump weighs about 200 pounds. Unless you plan on leaving it in the same place, it’s handy to put it on a sturdy rolling shelf or table. Avoid narrow one’s that might tip over. Here’s a link to ‘Mr. Fix It’s’ DIY rolling table. Simple, strong, and cheap to build,. You can adjust the basic pattern any way you like. Works well.
https://www.youtube.com/watch?v=eiT9wmb_wK4
The HR unit comes with easy to follow manuals for the pump and the freeze dryer. They answer most of your questions. If you don’t find an answer, HR has been quite good with customer support when I’ve called them.
Vacuum Pump notes:
HR pumps are in three types. The older pump, premier pumps, and oil less pumps.
HR freeze driers now come with the premier pump as standard. I got the premier rather than oil less because you only have to change the oil every 20 to 25 batches. Also because one of the commenters said he didn’t trust an oil less pump due to the lack of lubrication on moving parts in the pump. That made sense to me. Finally, HR oil less pumps are fairly new I wanted to watch and see how they perform.
All the pumps have a one year warranty. If you go for the oil less pump, it’s an extra $1,400. I’m told the premiums are typically good for 3 to 4 years though they can last a lot longer. When they’re done that’s the end of them and replacement cost is about $800. The oil less pumps last about 3 years. They can be rebuilt for about $375 plus shipping.
You can switch the type of pump the machine uses with a simple press on the command screen.
The drain valve:
Vacuum pumps pull air out of the chamber where the trays of food are. Once the cycle’s done, you have to let air come back into the chamber so you can open the door to get the food out. The valve is on the other side of the unit from the pump. Crack it open slowly. This is also where the water from melting ice on the inside walls of the chamber drains out. The water drains down a plastic tube on the outside of the freeze dryer and into a bucket. If you do another batch without emptying the bucket, the hose will suck that water back into the chamber like a shop vac when you open the valve at the end of the next batch. It will ruin your food. There are videos of this. You don’t need to watch them. The only way this can happen is if you don’t empty to bucket between batches.
The manual tells you how to do a test run. That’s a bread run with dampened bread to get the manufactured smell out of the chamber. Once that’s done you throw the bread away and you’re ready to start freeze drying.
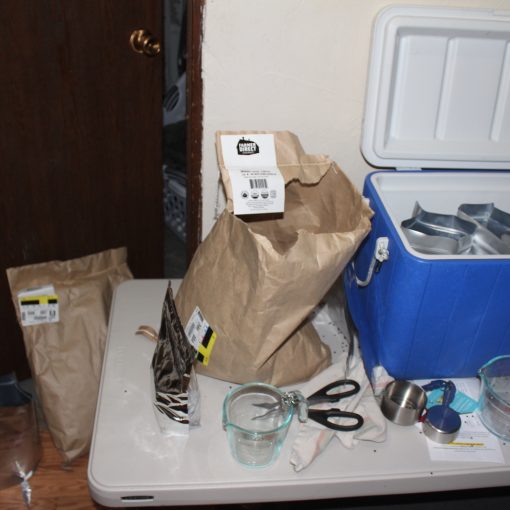
After the freeze dryer has worked its magic you can store the food in mason jars or mylar bags (next section). Do this as soon as the food comes out of the machine so the food doesn’t start to absorb moisture in the air. If you can’t get to it right away, as in if your batch finishes in the middle of the night, the machine will chill it down until you’re ready. Just add some more drying time before you take it out.

